
Sometimes the job dictates it: mixed looms, quick-deploy runs, or you’ve inherited a system that’s already strapped. If you must coil different cable types together for repeat touring use, the goal is simple:
Stop the bundle fighting itself and stop the ends taking the punishment.
Here are the best practices that make the biggest real-world difference.
1) Match the bend radius and “feel” as closely as you can
Before you ever strap anything:
- Check each cable’s minimum bend radius (or do a practical test: which one “kinks” first?).
- If one cable is noticeably stiffer/heavier, assume it will dictate how the loom wants to coil.
Rule: coil to the needs of the stiffest cable, not the most flexible one.
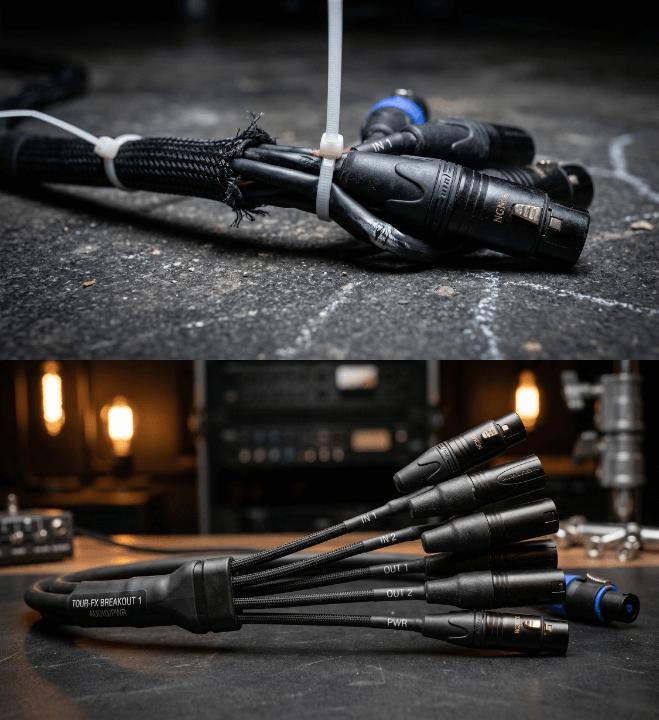
2) Make the ends bulletproof (this is where most failures start)
The first 150–300mm behind connectors is the danger zone.
Do this:
- Create a proper breakout at each end (a short fan-out where the cables separate cleanly).
- Add strain relief on each cable before it becomes part of the bundle.
- Use adhesive-lined heatshrink and/or moulded boots where appropriate to reduce sharp flexing.
- Avoid straps that start right at the connector backshell—leave a small “breathing” zone.
If you only improve one thing, improve the ends.
3) Use the right straps, spaced correctly
Avoid hard, narrow ties for touring looms.
Best practice:
- Use wide hook-and-loop (Velcro) straps.
- Don’t over-tighten; the loom should be held, not crushed.
- Strap spacing: as a guide, every 300–500mm for typical touring lengths, closer if the loom is heavy or gets dragged.
Narrow straps and tight ties create pressure points → abrasion → broken insulation over time.
4) Coil technique: over–under, but let the loom choose its radius
Coil using over–under to reduce twist memory, but:
- Keep a large coil diameter (again, follow the stiffest cable).
- Don’t “force flat” by twisting the last loop.
- If the loom wants to spring open, that’s telling you the radius is too tight.
A good touring loom should coil with minimal argument.
5) Keep the bundle “neutral” (avoid built-in twist)
When two different cables are strapped, they can store torsion.
To prevent that:
- Lay the loom out straight before coiling.
- As you coil, make sure the bundle isn’t trying to rotate in your hands.
- If you feel it winding up, stop and “reset” by laying it out and starting again.
Built-in twist shows up later as connector stress and intermittent faults
6) Add a sacrificial outer layer where it gets dragged
If the loom is pulled across decks or through cable ramps:
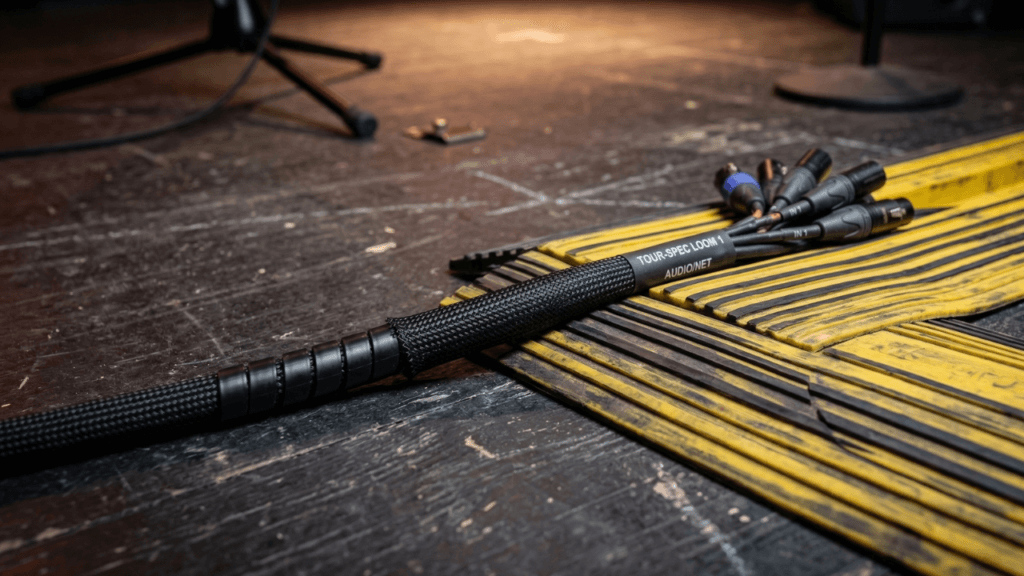
- Consider a protective sleeve (braided sleeve or spiral wrap) over the bundle.
- Or add abrasion protection to the “floor side” of the loom.
This stops the jackets being the sacrificial component.
7) Label the loom with handling guidance
It sounds basic, but it works:
- Mark the loom “Over/Under – Min Coil Ø ___ mm”
- Add a quick ID: length, destination, direction (“Stage → FOH”).
Touring consistency is half reliability.
8) Inspection and retirement rules
Bundled looms can hide damage.
Set a simple routine:
- Quick visual check at pack: flat spots, nicks, jacket whitening, connector backshell movement.
- Regular “wiggle test” near both ends.
- If a loom gets repaired twice, consider retiring it or re-building it properly.
Intermittent faults cost more than cables.
9) Know when bundling is the wrong answer
If you’re bundling:
- high-current power + delicate data,
- very stiff mains + very soft mic/network,
- or anything that always fights the coil,
…you’ll often save money long-term by moving to a purpose-built combi or a properly engineered loom with matched components.
A practical “touring standard” summary
- Coil to the stiffest cable’s radius
- Protect and relieve the ends
- Use wide Velcro, not tight ties
- Over–under, no forced twist
- Inspect regularly